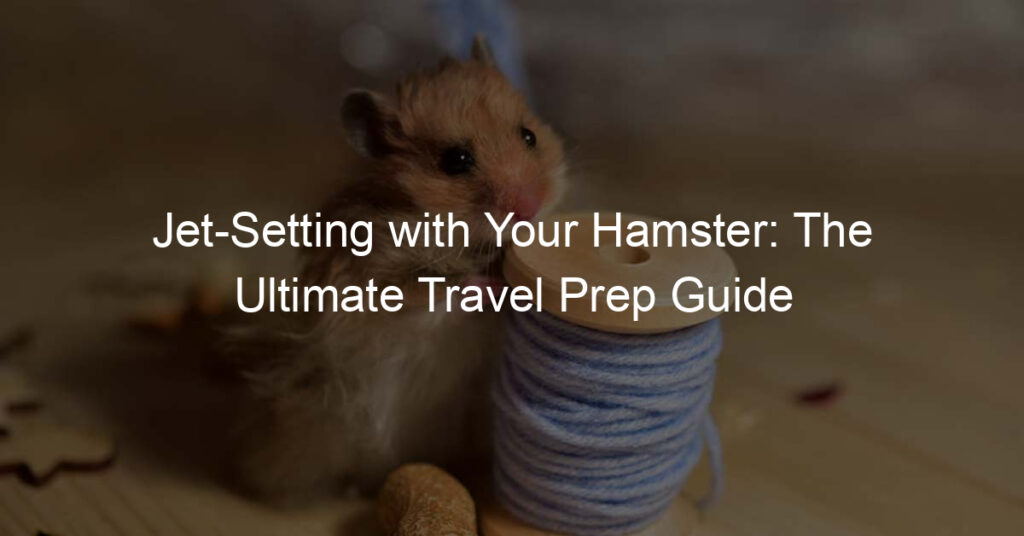
Introduction to DIY Hamster Toys
Hamsters are adorable, energetic creatures that love to play. Providing them with a variety of toys not only keeps them entertained but also contributes to their overall well-being. One way to ensure your hamster has a constant supply of new and exciting toys is by making them yourself. Let’s explore why DIY hamster toys are a great idea, the benefits of homemade hamster toys, and the importance of hamster enrichment activities.
- Why DIY Hamster Toys are a great idea
- Benefits of Homemade Hamster Toys
- Understanding Hamster Enrichment Activities
Creating your own hamster toys is a fun and rewarding experience. Not only does it allow you to tap into your creative side, but it also provides an opportunity to make toys that are tailored to your hamster’s specific needs and preferences. DIY hamster toys are also a cost-effective alternative to store-bought toys. Plus, it’s a great way to recycle household items that would otherwise be thrown away.
Homemade hamster toys offer numerous benefits. They stimulate your hamster’s mind, keeping them active and engaged. This can help prevent boredom and the negative behaviors that can come with it, such as bar chewing and overeating. Homemade toys also provide an opportunity for your hamster to exercise, which is essential for their health. Furthermore, DIY toys allow you to ensure that the materials used are safe and non-toxic for your hamster.
Enrichment activities are crucial for a hamster’s mental and physical health. They involve providing your hamster with opportunities to engage in natural behaviors such as burrowing, climbing, and foraging. DIY hamster toys can play a significant role in these activities. For example, a homemade maze can stimulate your hamster’s problem-solving skills, while a DIY climbing frame can provide much-needed exercise. Understanding and providing these enrichment activities can greatly enhance your hamster’s quality of life.
In the following sections, we will delve deeper into hamster enrichment ideas and provide a step-by-step guide to crafting your own hamster toys. We will also share some success stories of DIY hamster toys to inspire you. So, let’s embark on this exciting journey of DIY hamster enrichment together!
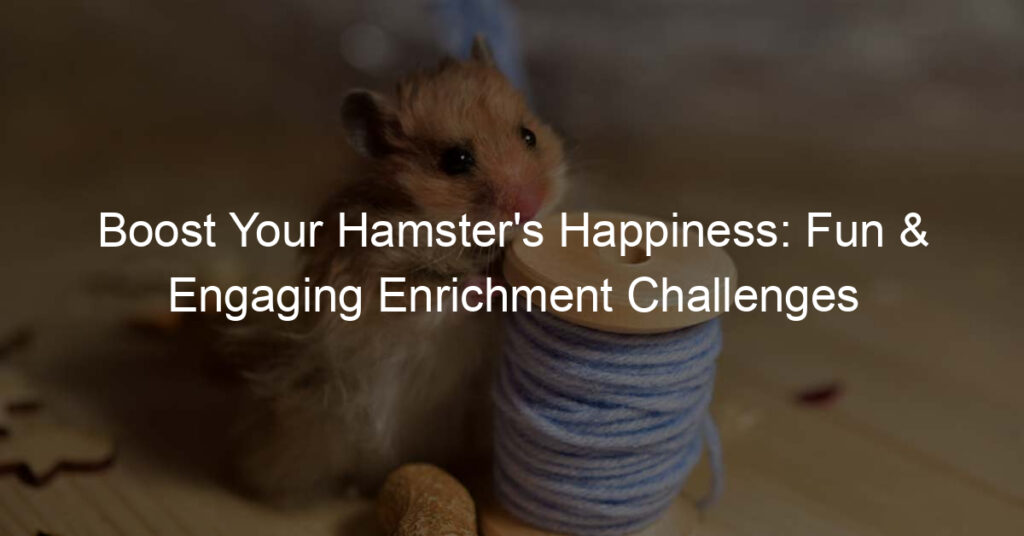
Hamster Enrichment Ideas
Providing your hamster with a stimulating environment is essential for their health and happiness. Let’s explore some DIY pet enrichment basics to help you create a fun and safe space for your furry friend.
DIY Pet Enrichment: The Basics
- Understanding Your Hamster’s Needs
- Choosing the Right Materials for DIY Small Pet Toys
- Safety Tips for Crafting Hamster Toys
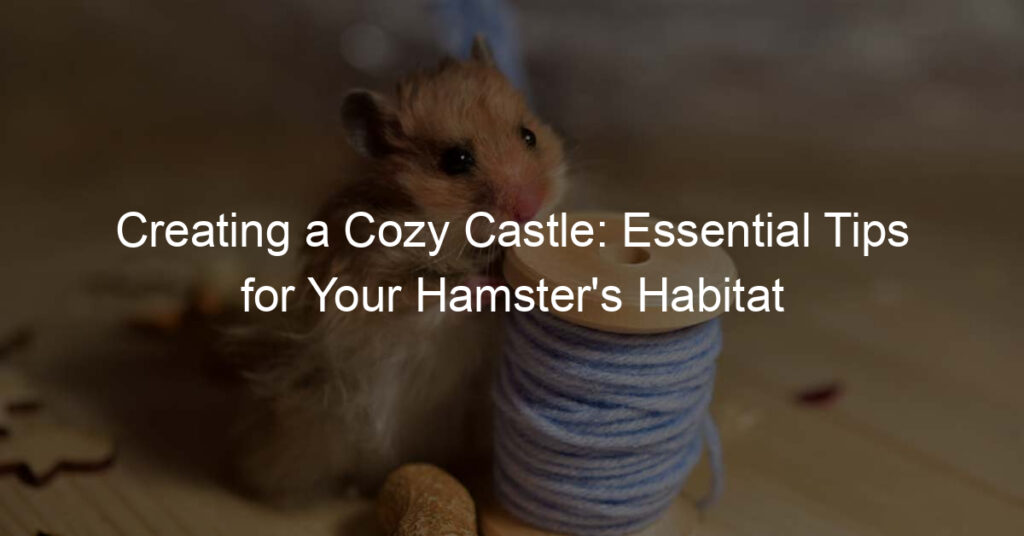
Before you start crafting DIY toys for your hamster, it’s important to understand their needs. Hamsters are active creatures who love to explore, climb, and burrow. They need physical and mental stimulation to prevent boredom and keep them healthy. Incorporate elements that cater to these natural instincts in your DIY projects.
When creating DIY hamster toys, the materials you choose are crucial. Opt for non-toxic, hamster-safe materials like untreated wood, cardboard, and paper. Avoid materials that can splinter or are small enough for a hamster to swallow. Remember, the safety of your pet is paramount.
While crafting DIY toys, always prioritize your hamster’s safety. Ensure there are no sharp edges or small parts that could be a choking hazard. Also, avoid using glue or paint that could be toxic to your hamster. Regularly inspect the toys for wear and tear, and replace them if they become damaged.
In the next section, we will explore how to transform everyday household items into fun and safe toys for your hamster. Stay tuned!
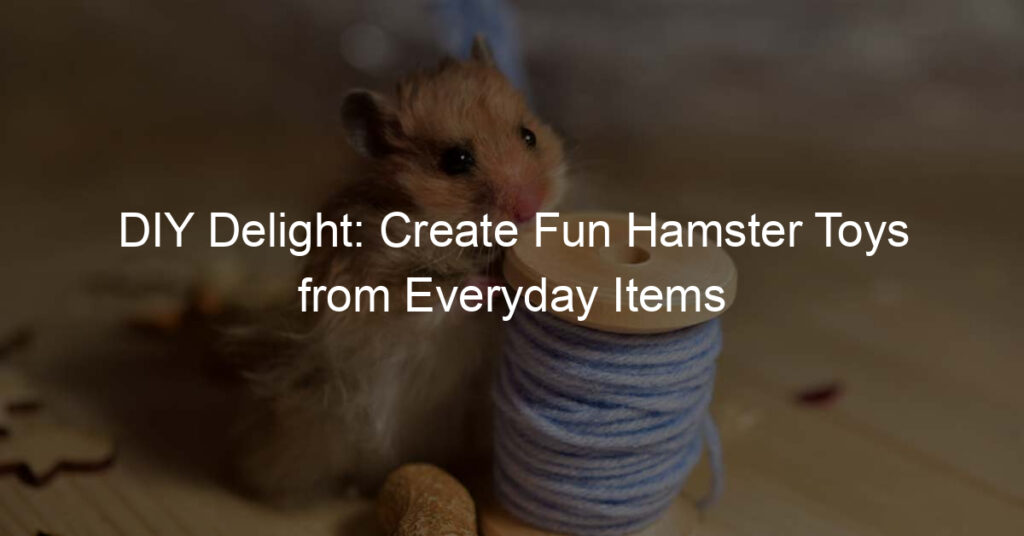
Hamster Toys from Household Items
Creating toys for your hamster from household items is not only cost-effective but also a fun and rewarding activity. Here, we will explore a comprehensive list of household items that can be transformed into exciting toys for your hamster. We will also provide examples of easy DIY hamster toys to inspire your creativity.
- Household Items for Hamster Toys: A Comprehensive List
- Cardboard tubes from toilet paper or paper towels
- Unused wooden spoons or chopsticks
- Old, clean socks
- Empty, clean plastic containers
- Transforming everyday items into fun toys
- Examples of Easy DIY Hamster Toys
- Cardboard Maze: Cut a cardboard tube into smaller pieces and arrange them into a maze. Your hamster will love exploring it!
- Sock Nest: Fill an old sock with hamster-safe stuffing to create a cozy nest.
- Chopstick Bridge: Use unused chopsticks to build a bridge for your hamster to climb and play on.
Many items found around your home can be turned into safe and entertaining toys for your hamster. Here are some examples:
Remember to always ensure the items are clean and safe for your hamster to play with.
Transforming these everyday items into fun toys for your hamster can be a simple and enjoyable process. For instance, a cardboard tube can be cut into smaller pieces and arranged into a fun maze. An old sock can be filled with hamster-safe stuffing to create a cozy nest. The possibilities are endless!
Here are some easy DIY hamster toy ideas to get you started:
Creating DIY hamster toys from household items is a great way to provide enrichment for your pet while also recycling items that might otherwise be thrown away. It’s a win-win situation!
Step-by-Step Guide to Crafting Hamster Toys
Creating toys for your hamster can be a fun and rewarding experience. Not only does it provide your pet with much-needed stimulation, but it also allows you to express your creativity. In this section, we will guide you through the process of creating a hamster playground.
Creating a Hamster Playground
A hamster playground is a great way to keep your pet entertained and active. Here’s how you can create one at home.
- Materials Needed
- Cardboard boxes
- Non-toxic glue
- Scissors
- Hamster-safe paint
- Small toys or objects for your hamster to interact with
- Step-by-Step Instructions
- Cut the cardboard boxes into various shapes and sizes. These will serve as the base of your playground.
- Use the non-toxic glue to attach the pieces together. Make sure to create a variety of levels and hiding spots for your hamster.
- Once the glue has dried, paint the cardboard with the hamster-safe paint. This will make your playground more appealing to your pet.
- Finally, place the small toys or objects around the playground for your hamster to interact with.
- Tips and Tricks for a Successful Build
- Always supervise your hamster while they are playing in the playground to ensure they are safe.
- Regularly check the playground for wear and tear. If any parts are damaged, replace them immediately.
- Change the layout of the playground every few weeks to keep your hamster interested.
You will need the following items to create your hamster playground:
Follow these steps to create your hamster playground:
Here are some tips to ensure your hamster playground is a success:
Creating a hamster playground is a fun and rewarding project. Not only will your hamster love their new play area, but you’ll also enjoy watching them explore and interact with their new environment. Happy building!
Building a Hamster Maze
Creating a maze for your hamster is not only a fun project for you, but it also provides your pet with much-needed mental stimulation and exercise. Here’s how you can build a simple yet effective hamster maze.
- Materials needed
- Cardboard boxes (shoe boxes work great)
- Scissors
- Non-toxic glue
- Tape
- Markers for decoration (optional)
- Step-by-step instructions
- Start by sketching a layout of your maze on a piece of paper. This will serve as your blueprint.
- Cut the cardboard boxes into walls and floors for your maze. Make sure the walls are high enough so your hamster can’t jump over them.
- Using the non-toxic glue and tape, assemble your maze according to your blueprint. Allow the glue to dry completely before introducing your hamster to the maze.
- Decorate the maze with markers if you wish. Make sure the ink is dry before your hamster enters the maze.
- Tips and tricks for a successful build
- Make sure the maze is stable and won’t collapse while your hamster is inside.
- Include multiple paths in your maze to keep your hamster entertained for longer.
- Change the layout of the maze regularly to keep it challenging for your hamster.
- Monitor your hamster while they’re in the maze to ensure they’re safe and enjoying the experience.
Before you start building, gather all the necessary materials. You will need:
Follow these steps to create your hamster maze:
Here are some tips to ensure your hamster maze is a success:
Building a hamster maze is a rewarding project that benefits both you and your pet. It encourages creativity and problem-solving skills in you, while providing your hamster with a fun and enriching activity. Happy building!
Case Studies: DIY Hamster Toys Success Stories
Let’s take a look at some real-life examples of DIY hamster toys that have brought joy and enrichment to our furry friends. These case studies will provide inspiration and practical insights for your own DIY hamster toy projects.
-
Case Study 1: The Hamster Playground
Meet Lucy, a hamster owner who decided to create a playground for her hamster, Fluffy. Using simple materials like cardboard tubes, wooden blocks, and non-toxic glue, she built a multi-level playground. It included a slide, a swing, and a small climbing wall.
Fluffy’s activity levels increased significantly after the introduction of the playground. Lucy noticed that Fluffy was more active, exploring every corner of the playground and spending less time sleeping during the day. She also observed that Fluffy was more engaged and less likely to exhibit signs of boredom or stress.
Lucy’s DIY hamster playground is a great example of how simple, homemade toys can provide physical and mental stimulation for hamsters. It also shows that you don’t need to spend a lot of money to enrich your hamster’s environment.
-
Case Study 2: The Homemade Hamster Maze
Our second case study involves John, a hamster enthusiast who wanted to challenge his hamster, Whiskers, with a homemade maze. Using cardboard, he designed a complex maze with multiple paths and dead ends.
John observed that Whiskers was initially confused but quickly began to explore the maze. Over time, Whiskers learned to navigate the maze more efficiently, demonstrating improved problem-solving skills.
This case study highlights the cognitive benefits of DIY hamster toys. Not only did the maze keep Whiskers physically active, but it also provided mental stimulation, helping to keep his mind sharp.
In conclusion, these case studies demonstrate the potential benefits of DIY hamster toys. They can provide physical exercise, mental stimulation, and an enriched environment for your hamster. Plus, creating these toys can be a fun and rewarding project for you as well. So why not give it a try?
Conclusion: The Joy of DIY Hamster Enrichment
As we wrap up our exploration of DIY hamster enrichment, it’s clear that creating homemade toys for your hamster is not just a fun and engaging activity, but it also contributes significantly to your pet’s overall well-being. By crafting these toys, you’re providing your hamster with much-needed mental stimulation and physical exercise. Plus, the joy you derive from seeing your pet happily engaged with a toy you’ve made is simply incomparable.
- Key Takeaways
- DIY hamster toys are an affordable and fun way to enrich your pet’s environment.
- Materials like cardboard tubes, untreated wood, and non-toxic glue are safe and effective for creating hamster toys.
- Always supervise your hamster when introducing a new toy to ensure safety.
- Regularly rotating toys can keep your hamster’s environment stimulating and exciting.
- Further Resources for DIY Small Pet Toys
- Books on small pet care often include chapters on DIY toys and enrichment.
- Online pet forums and social media groups are a wealth of shared experiences and creative ideas.
- YouTube tutorials can provide step-by-step guides for crafting various types of hamster toys.
Let’s recap the main points we’ve covered:
For more ideas and inspiration, consider the following resources:
In conclusion, DIY hamster enrichment is a rewarding endeavor that benefits both you and your pet. It’s a wonderful way to bond with your hamster while ensuring it has a stimulating and healthy environment. So, why not start your DIY hamster toy project today? Happy crafting!